MENU
Skip menuInstallment 8 - Suspension.
This one's a big one folks. I've never ruined more cloths working on a car. 924/944 suspension is wonky, that is about all I know for sure. I'm really glad this stage is over and look forward to never doing torsion bars again...at least not anytime soon.
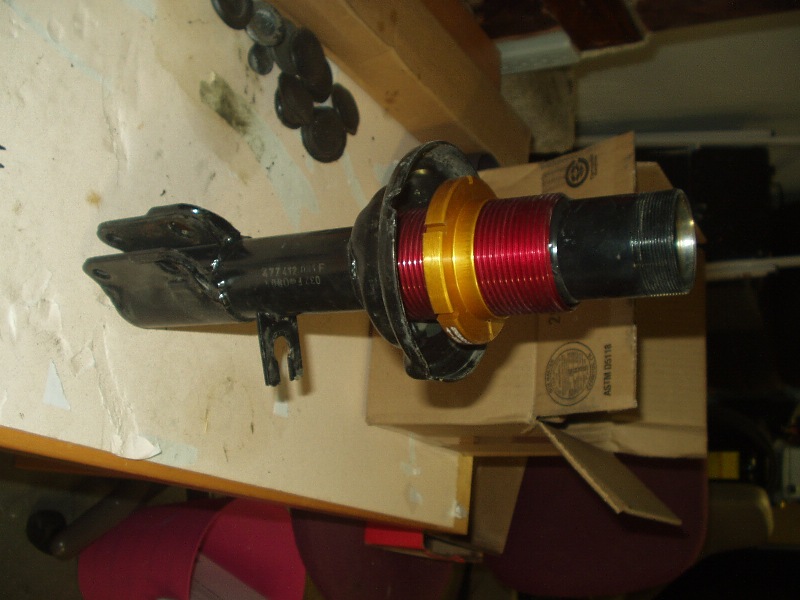
The front suspension was very easy. I got some control arms from ebay with welt bushings, so I removed the old struts, tie rods and control arms. Delrin is the bushing of choice for subframe end of the control arms, so I swapped the welts for new delrins. With the struts out, I was happy to find that they were the service- able kind, so I borrowed a spring compressor and got to work.
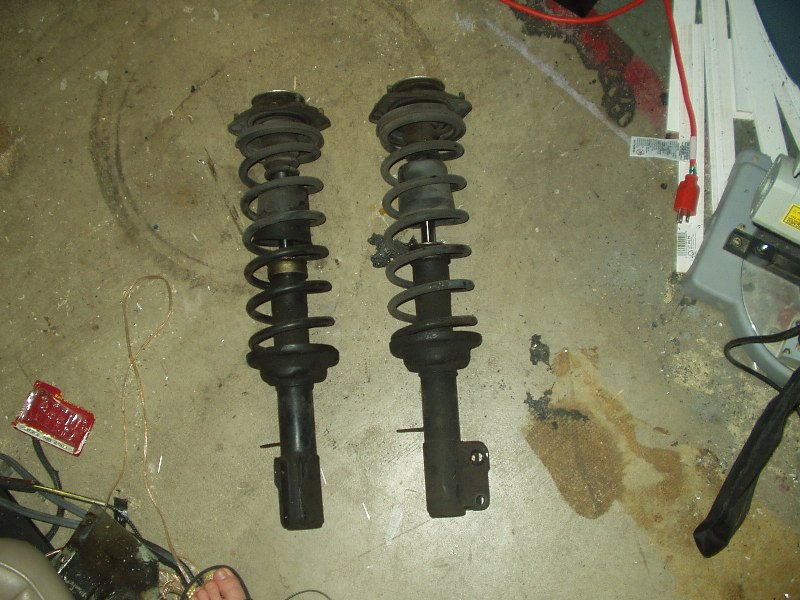
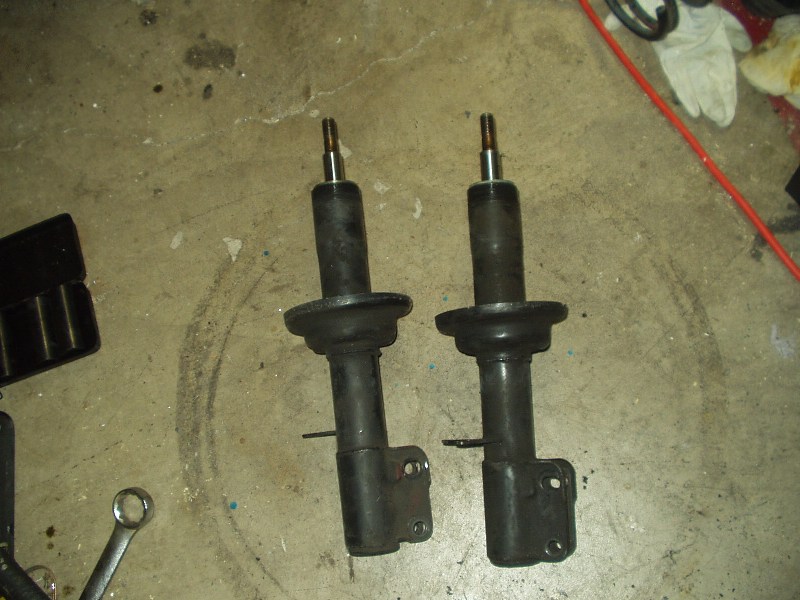
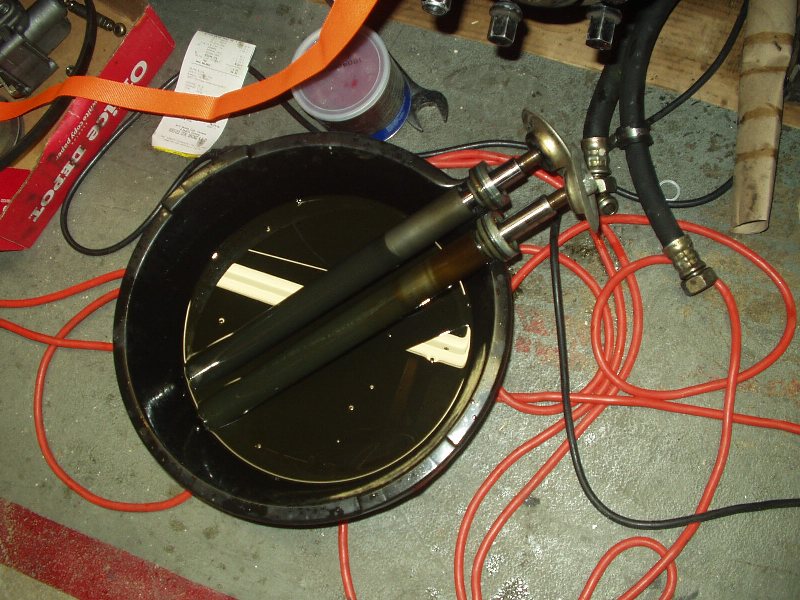

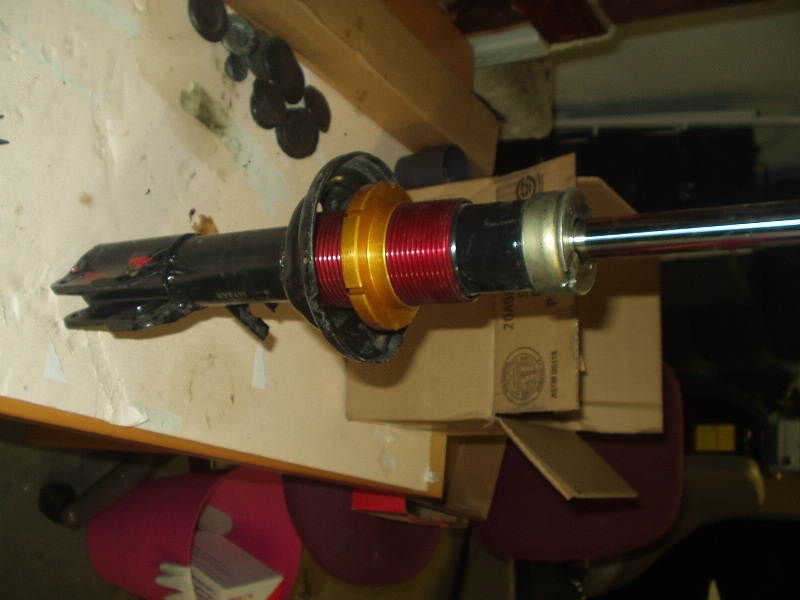
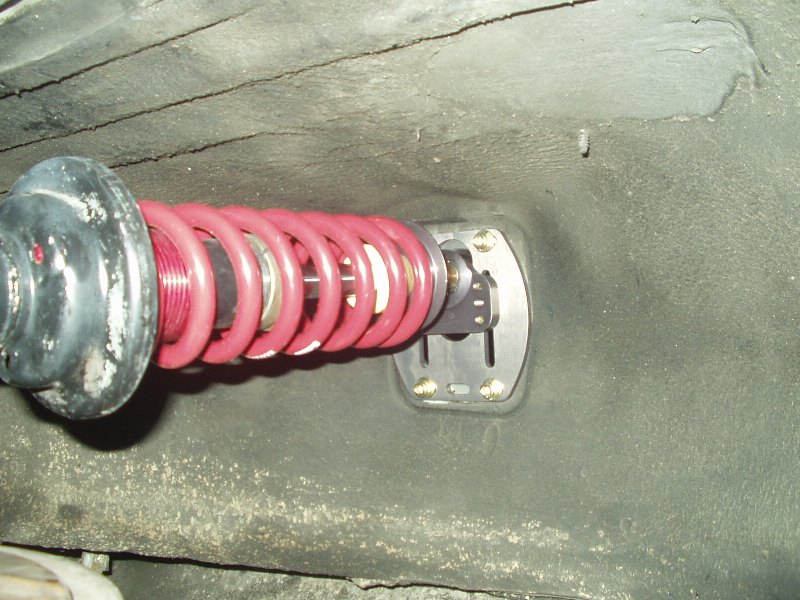
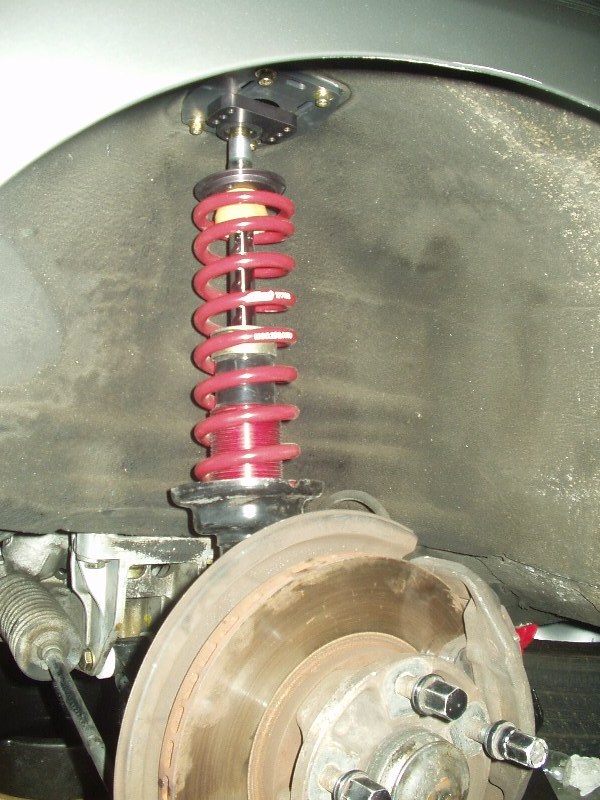
The oil front those struts was the most foul smelling liquid I'd ever smelled in my life. Other than that, getting the strut housings ready for drop in Koni catridges was cake. Camberplates and an adjustable spring perch kit make a nice combo!
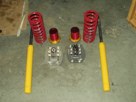
Putting it all together was the first time something new and nice had touched this car since it was first built. I think the car cried a tear of joy...or it was leaking oil somewhere...one of the two.
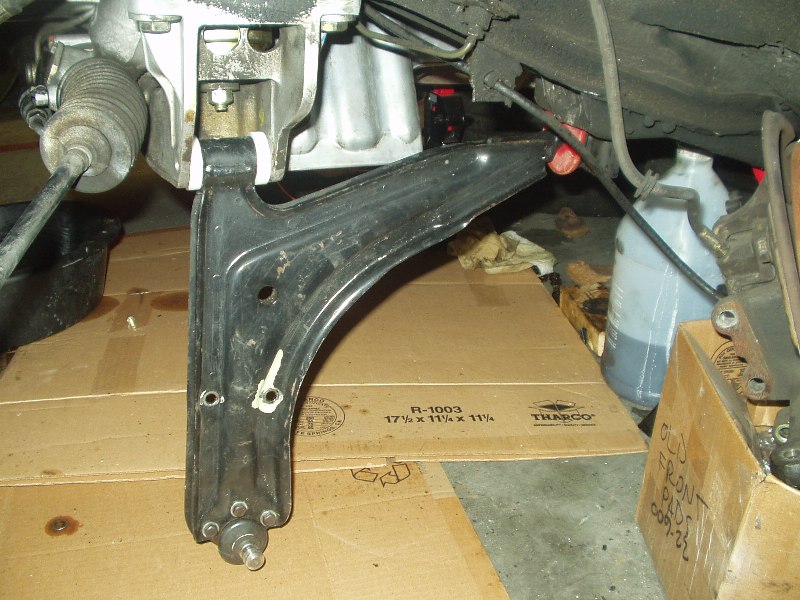
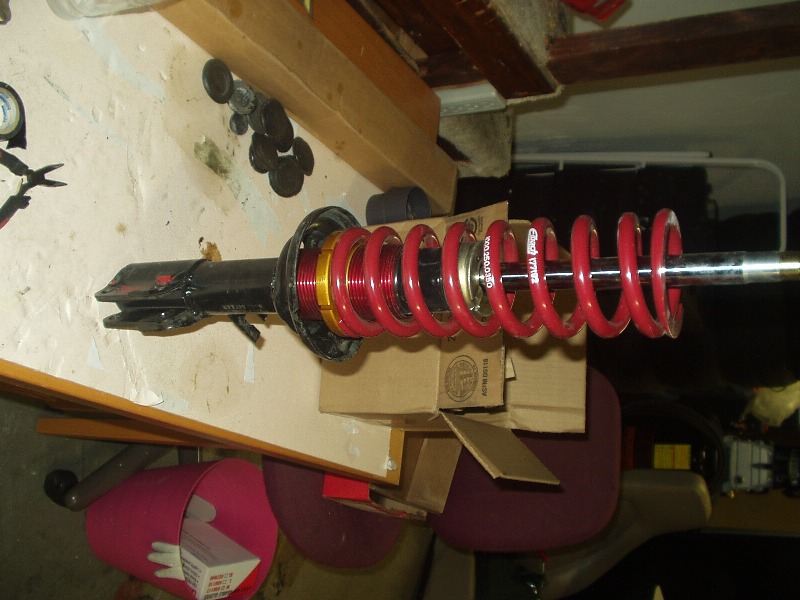
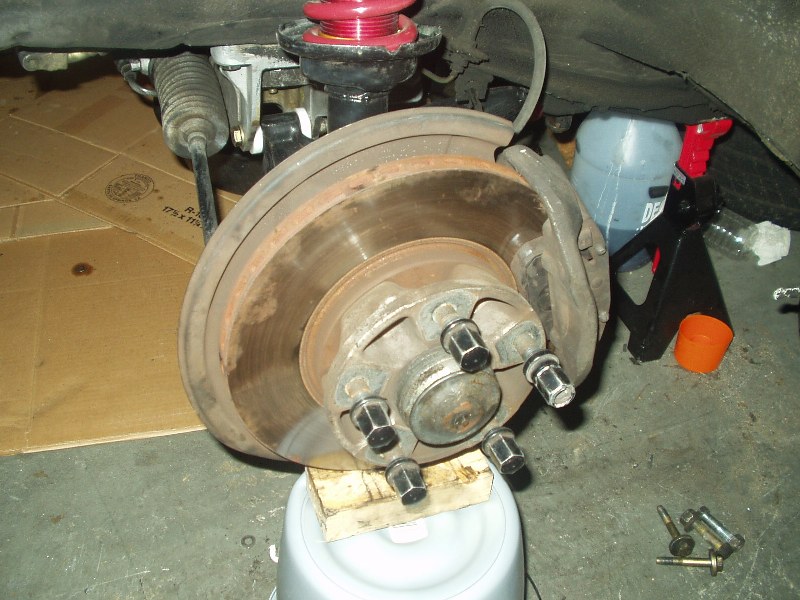
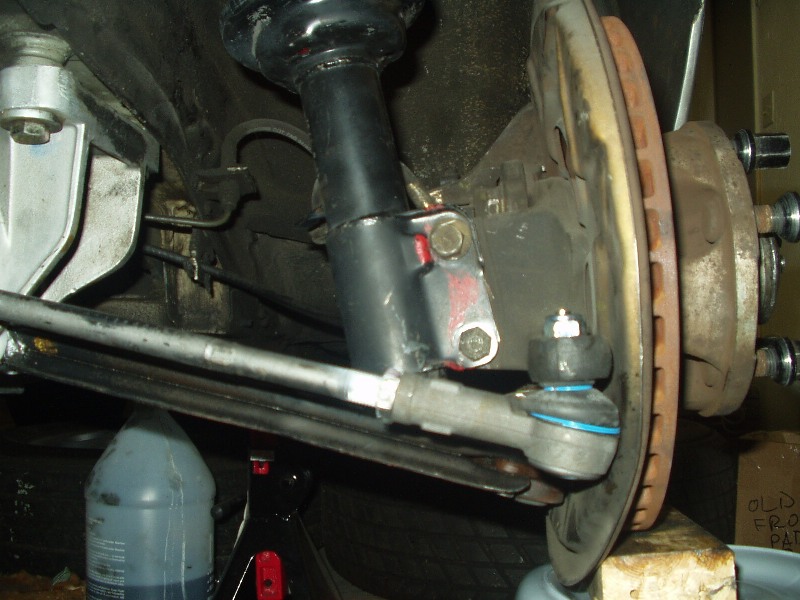
The old tie rods were pretty much busted using my bash 'em 'till they give method of removal. New tie rod ends were cheap, so I didn't sweat it. Here is the front end getting put back together. Next time I'll use a gear puller. Note: the 10" springs in these shots have since been replaced by 7" springs, to achieve proper ride height with room to adjust for corner balancing.
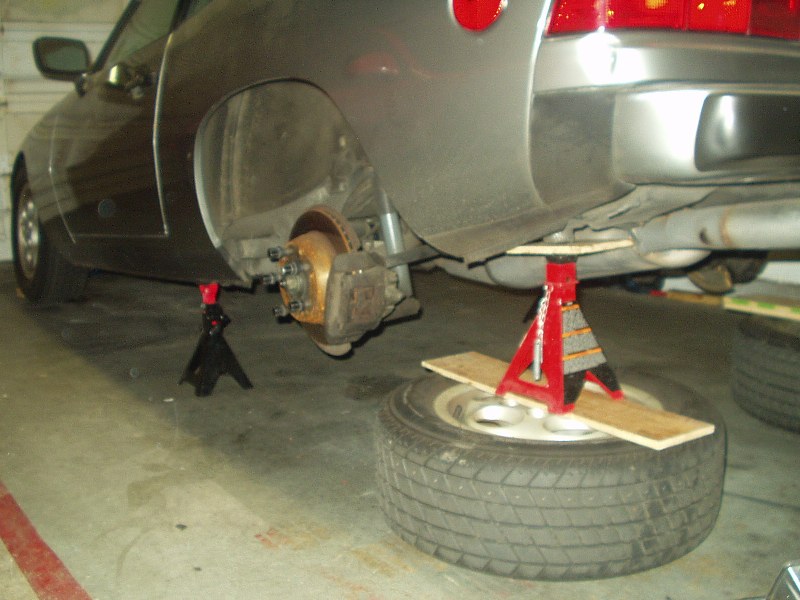
With the front done, it was time to tackle the murderous, satan-child of Dr. Porsche. The "torsion bars suck!" theme has been beaten to death, so I'll shut up now. For a car nut, I HATE getting completely under them. I know an earthquake is a long shot, but that doesn't help my nerves much. A spare set of wheels and tires (8" wide, not shown) under the rockers helps calm my nerves a bit though.
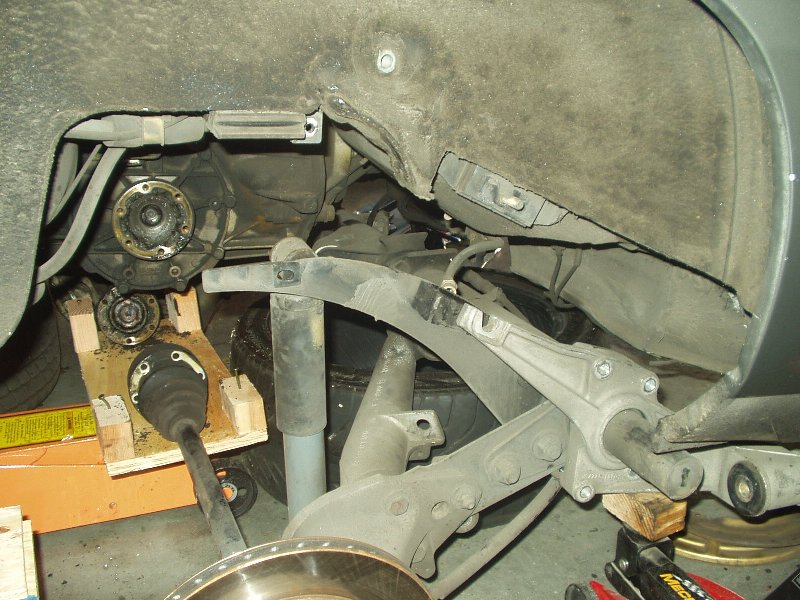
Before I touched anything, I took some before shots. I actually took a ton, but I'll spare you.

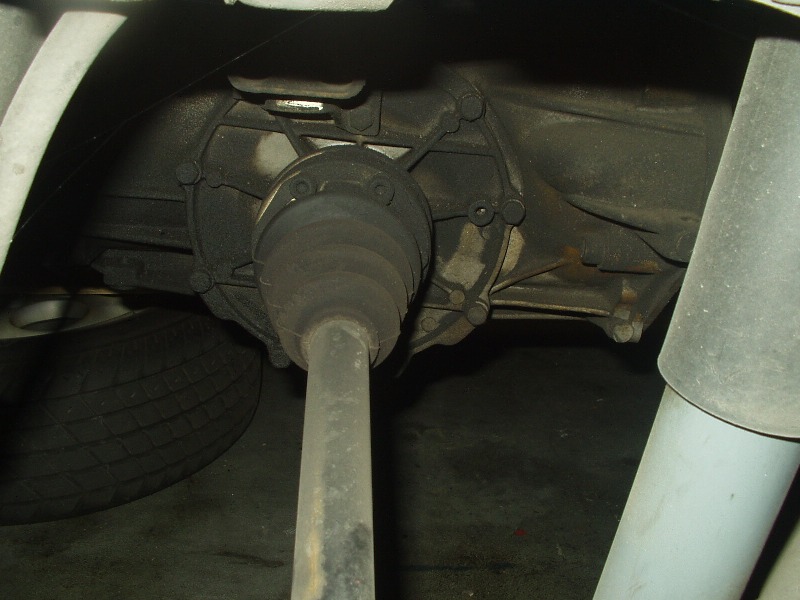
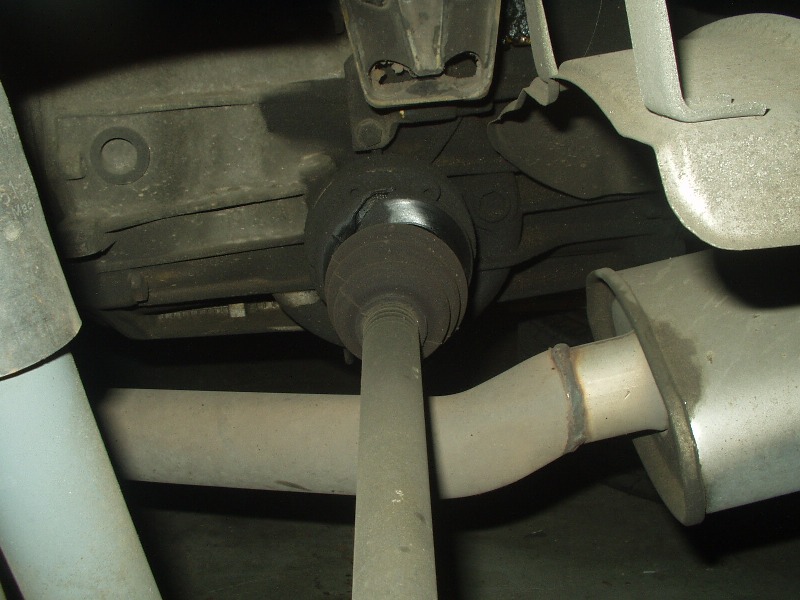
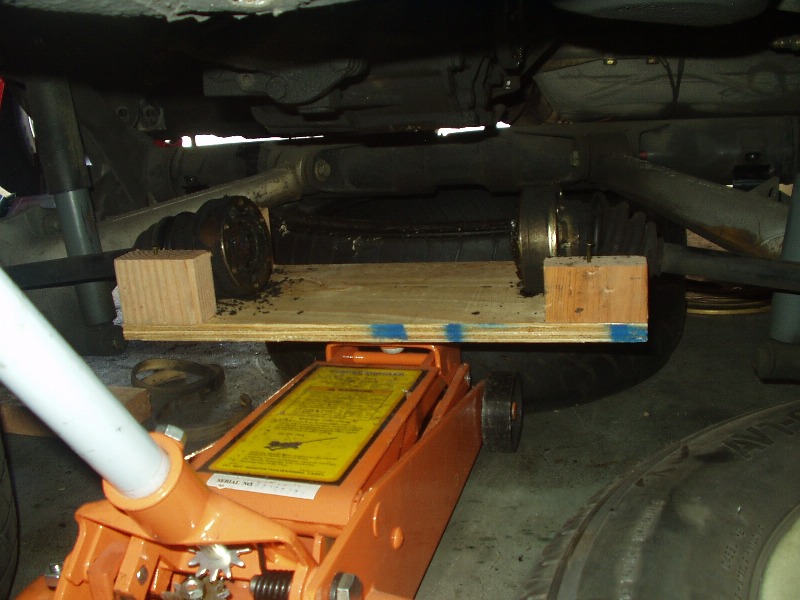
To support the torsion tube, I placed an old 225 series tire under the center of the tube and went to town get- ting it loose. This is probably really bad, but I used the hub break it loose by jumping up and down on each side. Finally, once it started to move, I used a large pickle fork pry on anything I could get leverage on. Thankfully I didn't crack any aluminum.

I don't recall at which stage I disconnected the axles and parking brake cable, but I'm pretty sure it was prior to breaking the torsion tube loose. Either way, my pictures are numbered after the loose tube. The parking brake cables can probably be removed at the hubs, but I thought it would be easier to remove the main cable at the parking brake handle. Reinstalling the cable is a little tougher than removing it, but all in all, I would use this method again.

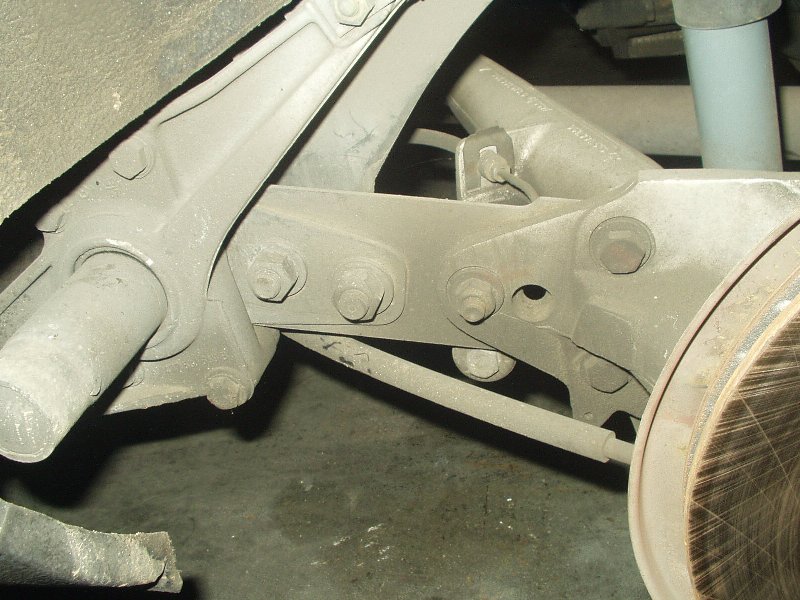
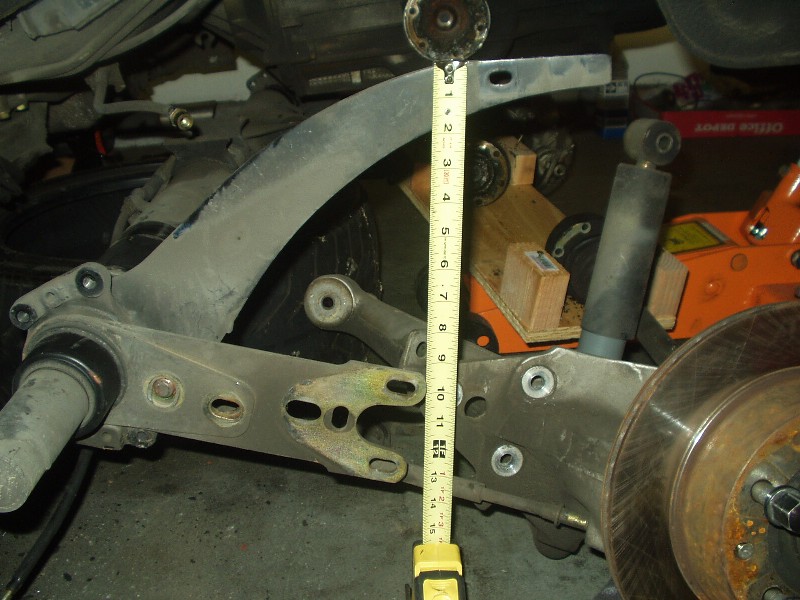
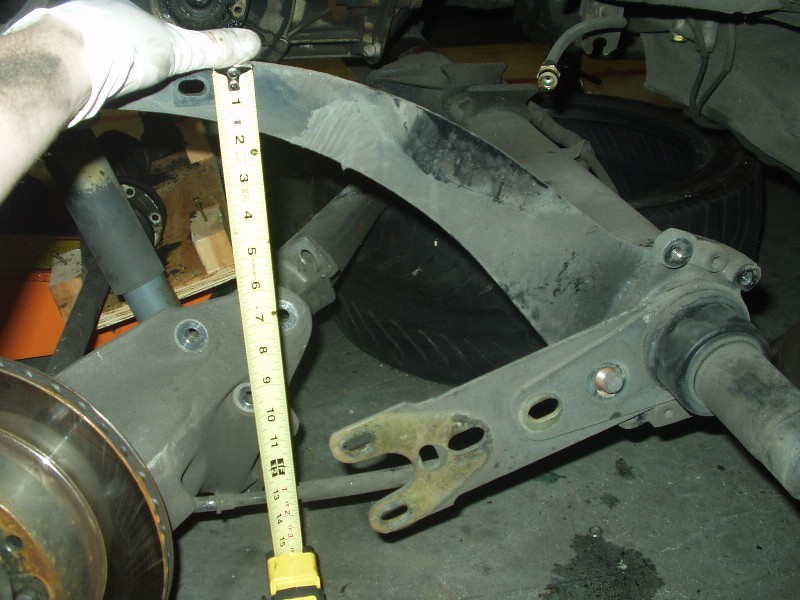
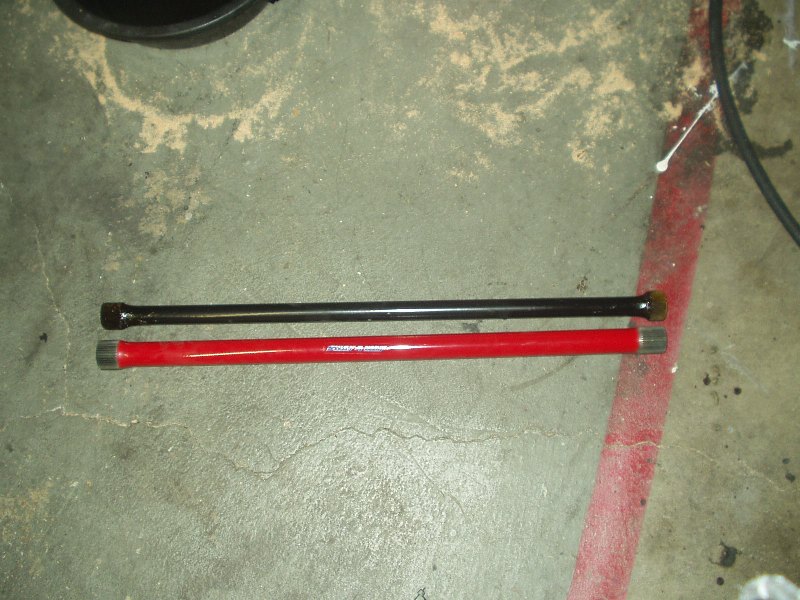
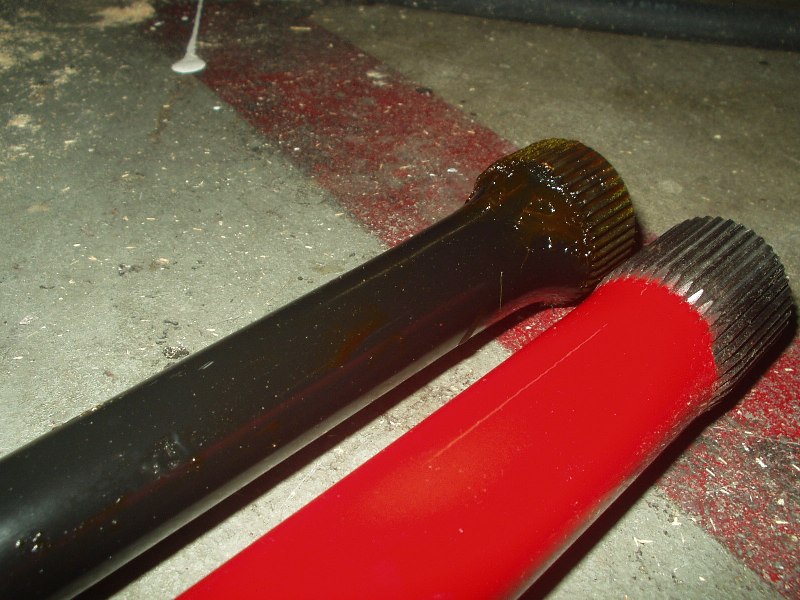
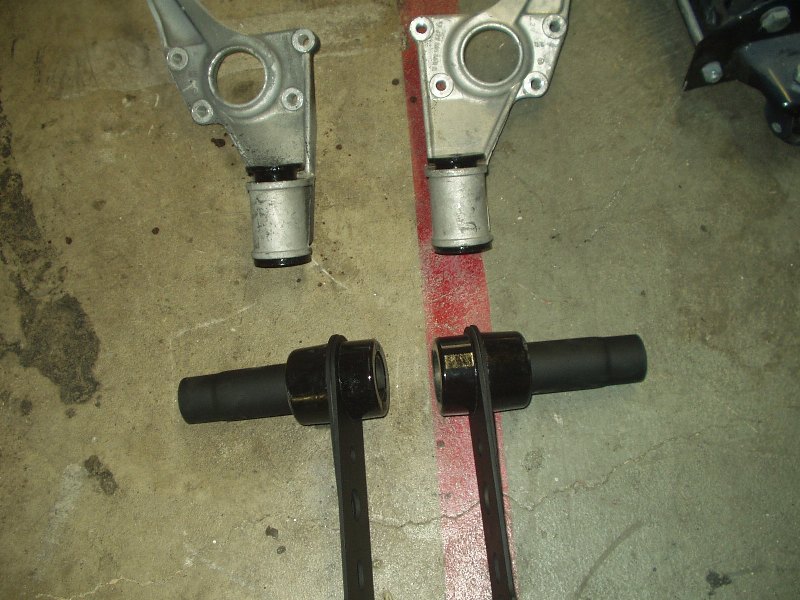
The torsion tube is a beast. I decided to just leave it under the car, since I was doing everything all by my lonesome. With the trailing arms disconnected, I took measurements of the stock bars unloaded for reference. I used this same measuring technique to index the new bars too with great success! (Thanks to Joe Paluch again)
With the measurements taken, I broke down the spring plate assembly and removed the stock bars. The new bars made me smile.
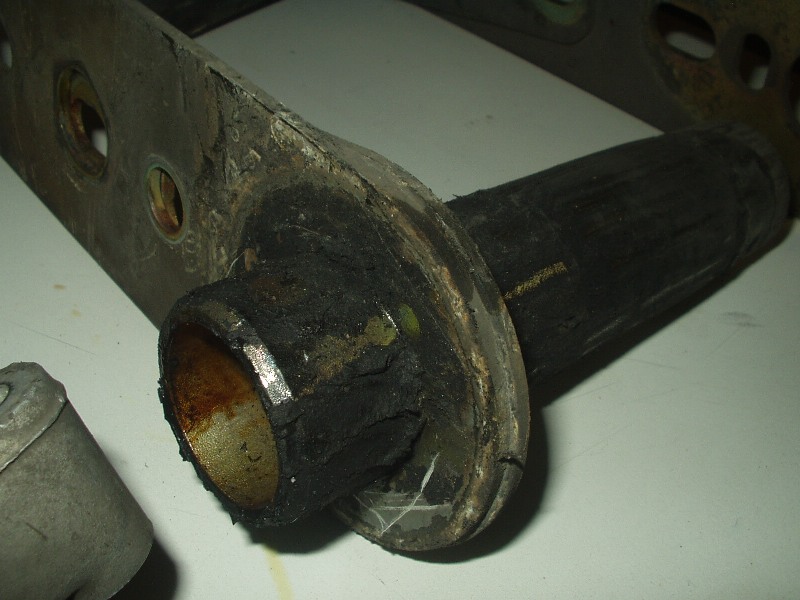
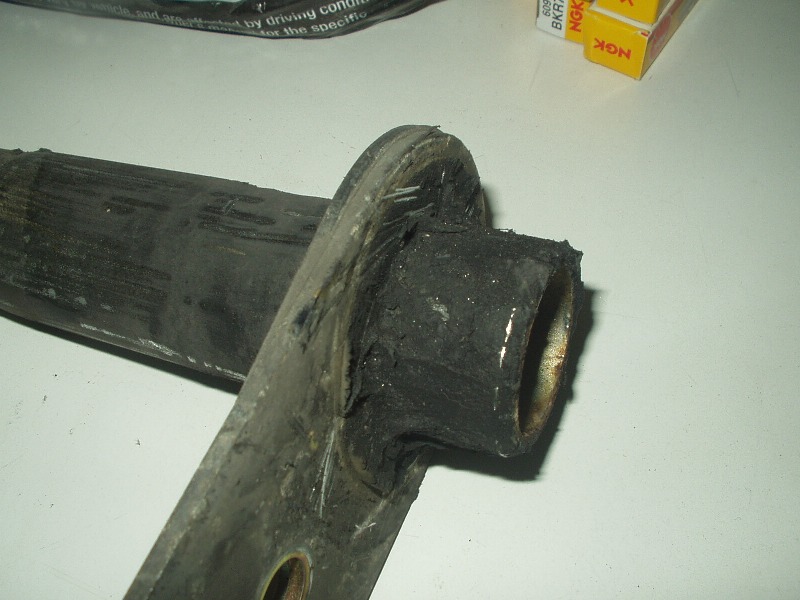
The stock rubber was in decent shape, but who needs it. The spring plate bushings were a bitch, but a torch and some patience, I got the bulk off. My brother bought a 6-ton press just for this job (and some persuasion from me) and we punched out the torsion carrier bushings. In my defense, he's got two 924's and will need the press when I'm helping him get both his cars ready for service. A wire wheel, more patience and a tolerance for a huge f-ing mess got good results.

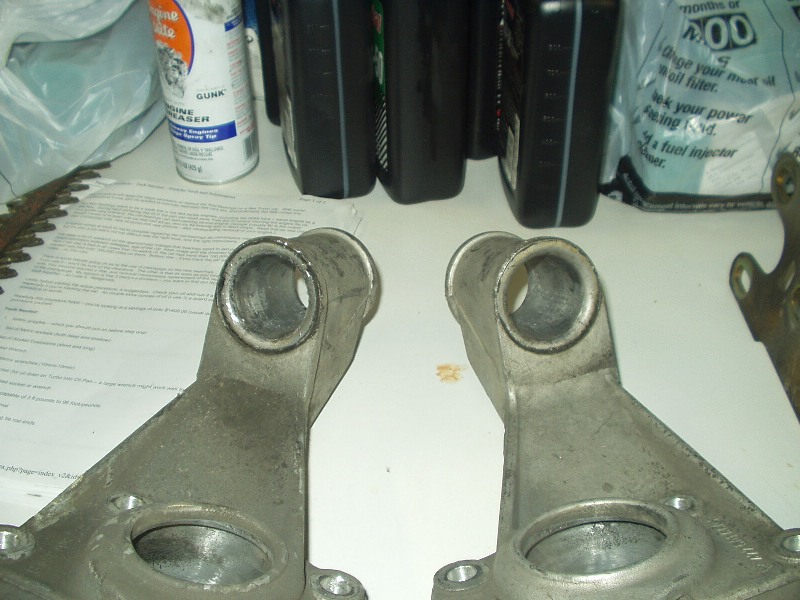
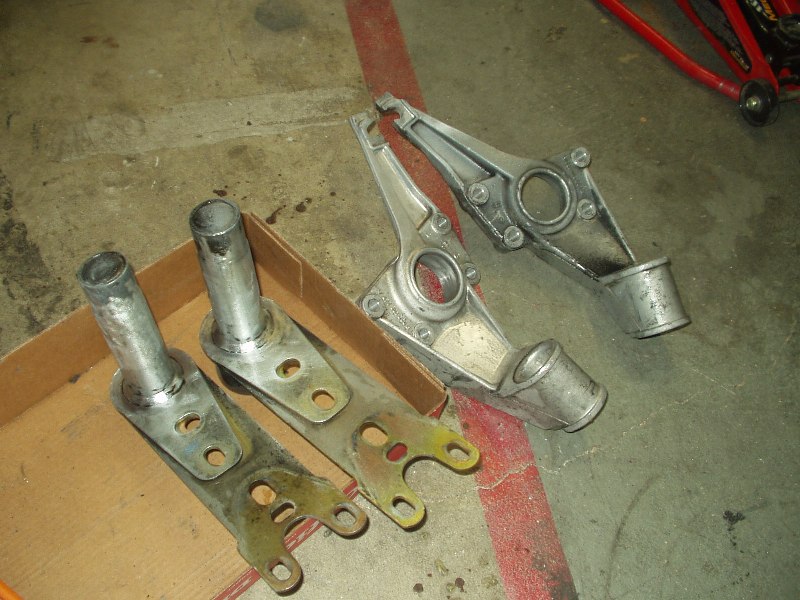
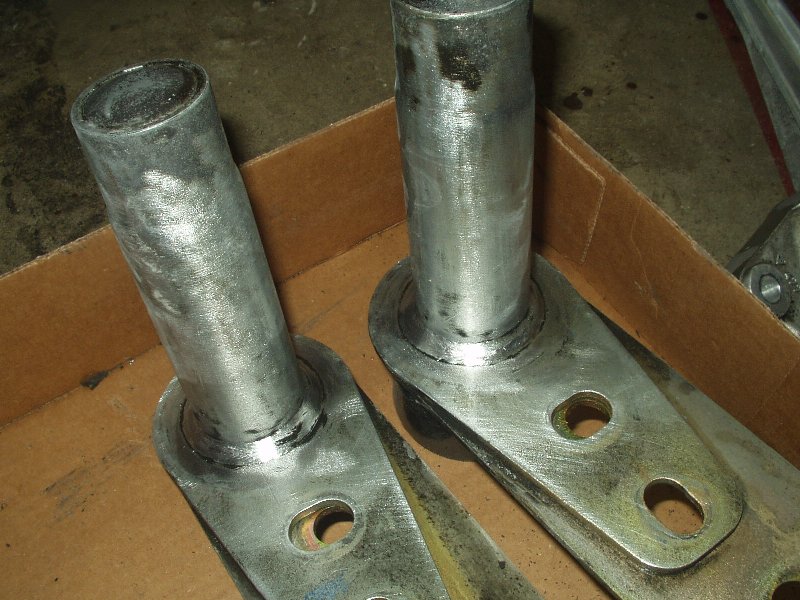
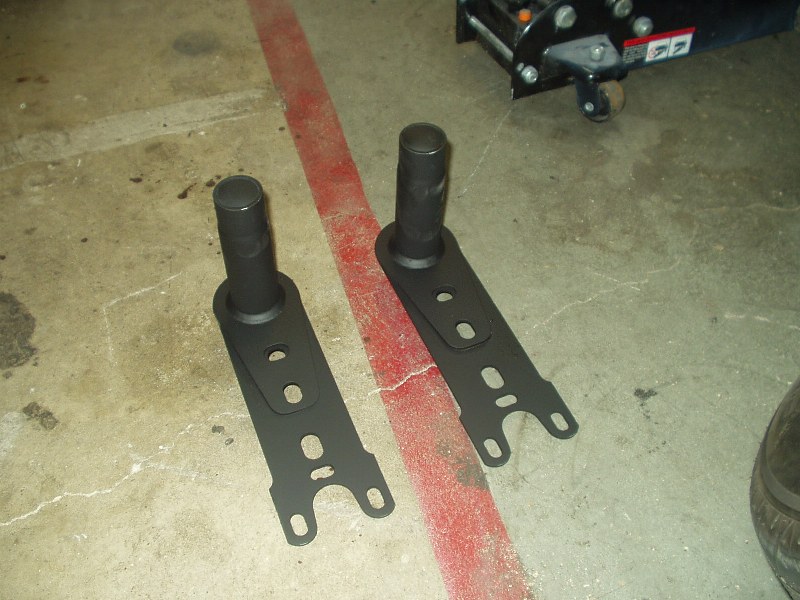
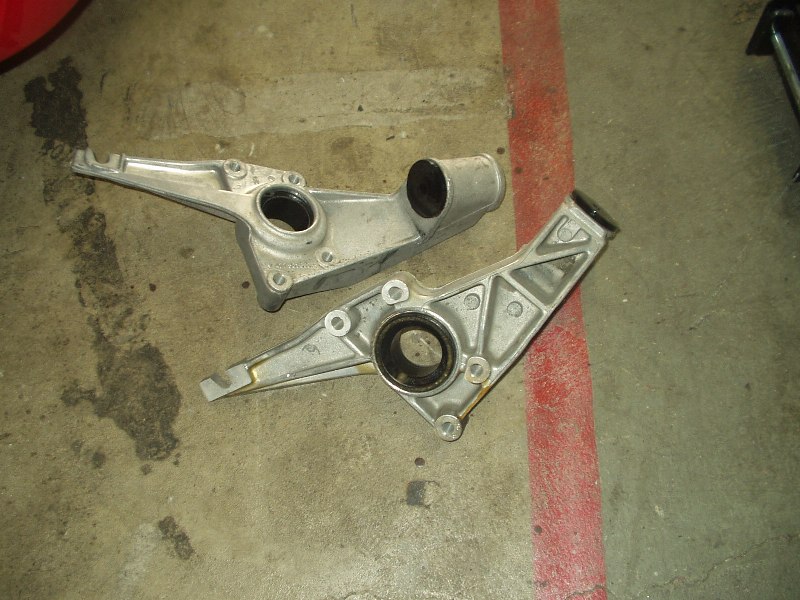
Clean parts, fresh paint and new bushings sure know how to make you feel good.
My axles had seen better days. The ripped boot was icing on the cake. I wish I had an after shot after I cleaned the crap out of them, but the 'ol wife had the camera that weekend. Just close your eyes and think of pretty axles. Those were my axles.

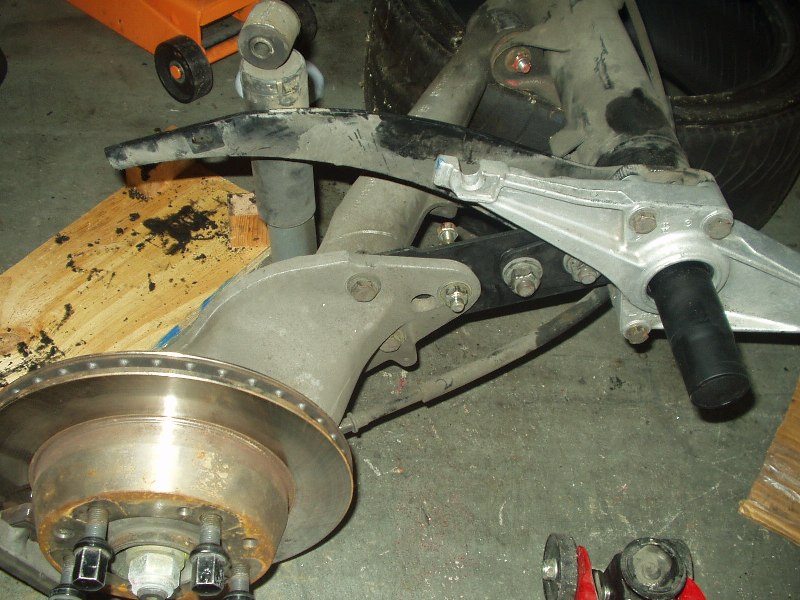
I was without a camera for the indexing of the new bars, but really 4654497461677 pictures of my failed attempts at indexing the bars just right is probably worthless anyway. If you're attempting this, be prepared to spend a lot of time on this step and don't rush it. With both sides measuring the same, I slapped it back together. Getting the torsion tube back into place was probably the worst experience on the whole journey. You really need four jacks and two people to get it done easily. I had three jacks and myself. Once I finally got the beast back into its general home, I once again used the pickle fork to pry it around until the holes were lined up. If you plan on using Welt bushings for the torsion carrier plate, be prepared to drill out the hole to get the bolt to fit. I was lucky enough to find out after I got the entire f-ing torsion tube in place to find out that bolts wouldn't slide through the bushings. A drill, a beer and an hour later, the assembly was bolted back into place.

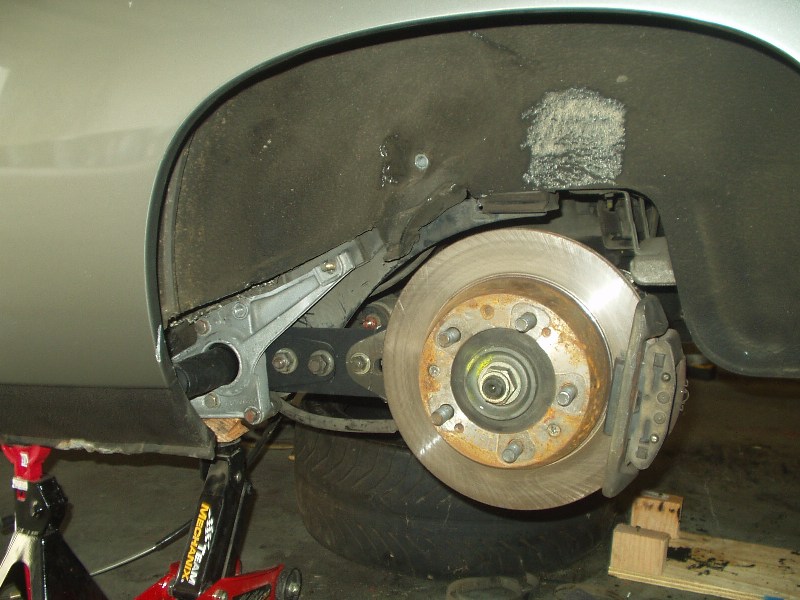
The rear hubs looked WAY off and I feared I completely f'd up the indexing. With the wheels installed though, it wasn't too bad. Back together I think it's actually perfect and that, once again, makes me smile. To be honest I did a little dance when I saw that I got it right the first try. Don't tell anybody I told you.
Without further ado, I give you my 944 Spec hopeful!
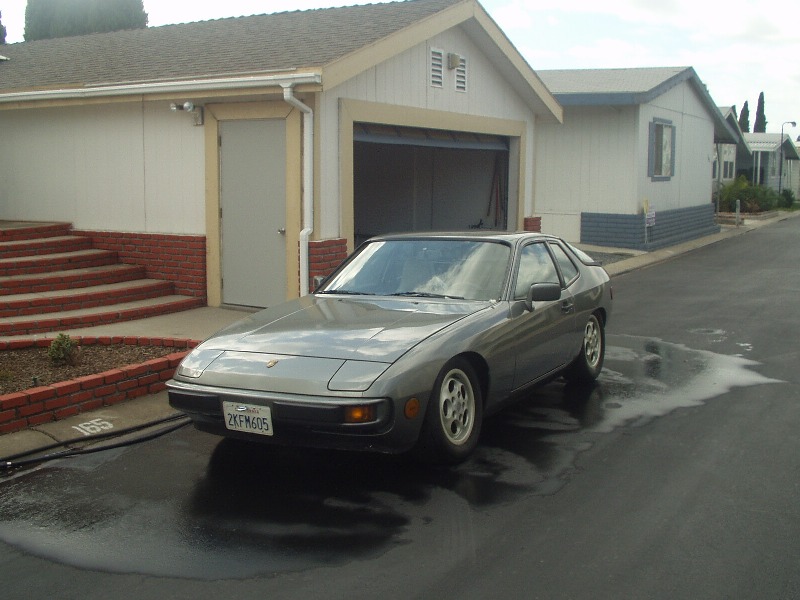
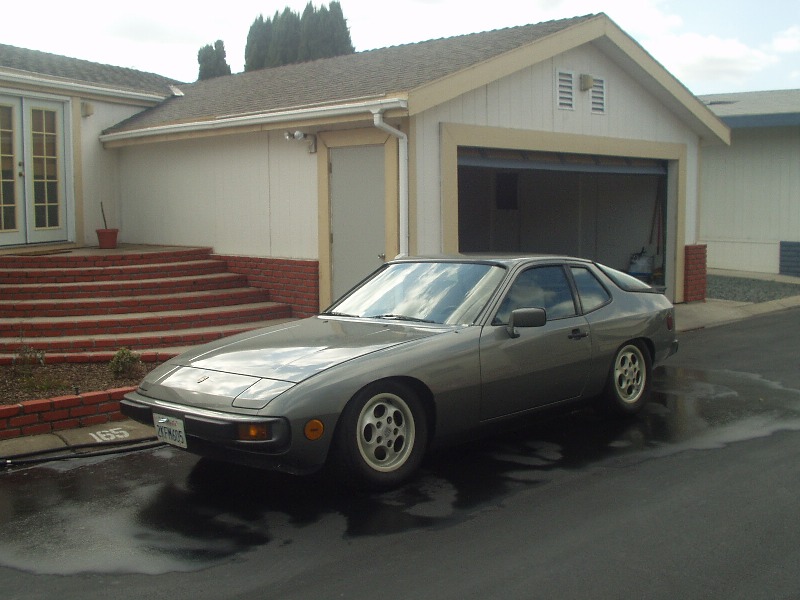

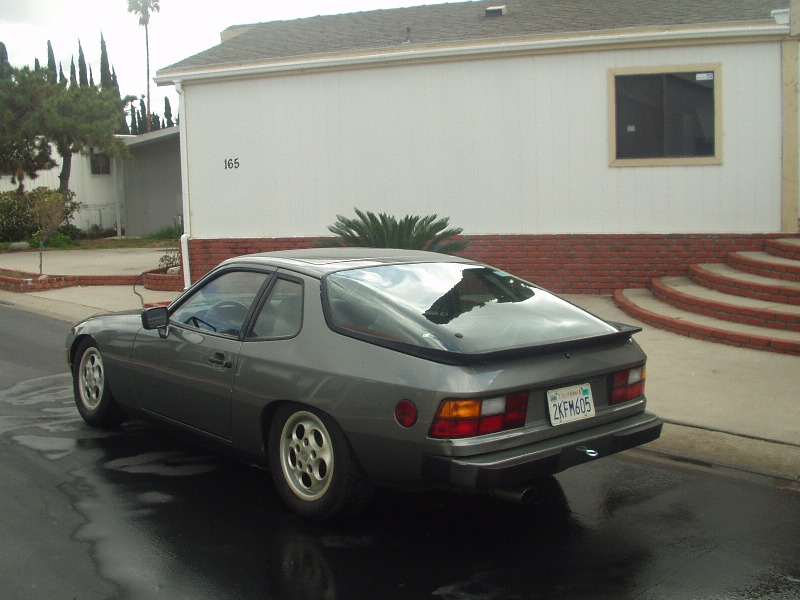
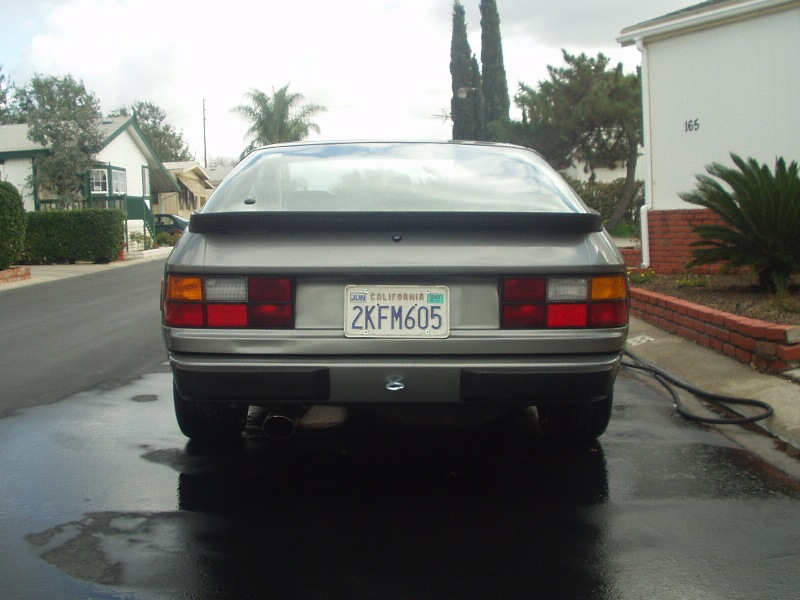
Photos...